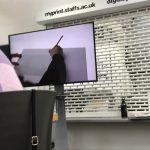
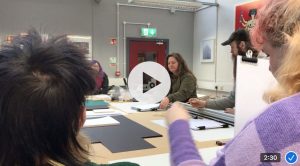
Today we congregate in the Print Bureau with Paul, Catherine and Jim for an instruction on how to make a simple photobook.
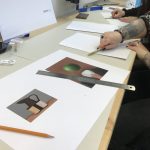
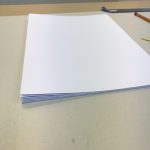
We have paper, prints [selection of last semester’s submission] ruler, pencil, nail [for scoring] and a bone folder. This is quite exciting for an amateur crafter, I can’t wait to get started. With a comprehensive introduction from Jim on the different printing methods available and a perusal of a few examples of photobooks Catherine demonstrates our task.
Silence ensues, we are all eyes and ears…I feel as though I’m back watching Blue Peter..but obviously with far more finesse and less sticky back plastic!
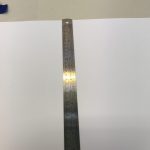
Using the guide points already provided on the prints we put each print page onto a lightbox and mark the centre line with pencil on the back of each print. This showed us where to score a line in order to create the fold.
Once all the pages were folded we reassembled them. Beginning to form the spine of the book [on the folded edge] and the two page image face up we then needed to connect the ‘image pages’ by the blank back of each printed page.
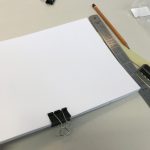
The ‘book pages are lined up and the blank sides were then glued together at the edge opposite to the ‘spine’ of the book, bulldog clipped to keep alignment and weighted down with books on top of them to dry while we had a break.
Phew! so far so good!
Revived with Coffee we are ready to re-commence. Catherine explained this is the point where the book is cut to size. This can be done by hand with a scalpel and ruler, or paper guillotine… We opt for the latter and a visit to Gary in the cutting room. There we are introduced to the expertise of the digital paper cutter and leave happily again with beautifully trimmed books ready for the final chapter photobook mastery part one.
Our final job is to form the outer cover. This is made from a long piece of dark card, enough to form a two fold spine and further folds for each of the front and back pages. This is demonstrated first by Catherine , we are well into lunchtime now, but we happily continue eager to see the finished result.
If I can replicate this at home for a gift or keepsake I will be so pleased. The combination of capturing the image myself and creating the book will be very satisfying.